
How to Make a Photo Talk With Your Own Audio
You already have the voice recording. You do not need to rewrite it as a script or pick a synthetic voice to make a photo speak. Upload the recording as audio, pair it with a portrait, and generate the talking video. As of October 11, 2026, LipSyncX's audio panel lists MP3, WAV and M4A with a 30MB upload ceiling.
The LipSyncX interface checked on October 11, 2026 offers Text, Audio and Record inputs. This guide follows Audio mode. It documents the controls and published limits; it does not promise that every face or recording will produce the same quality.
Prepare a portrait and a short recording
Choose a clear portrait with one visible face, an unobstructed mouth and enough space around the head. Use your own photo or an image you have permission to animate.
The current audio panel lists MP3, WAV and M4A, with an upload ceiling of 30MB / 10 minutes. It recommends audio shorter than 1 minute for the best lip-sync quality. An upload ceiling is not a guarantee that every model supports the full length.
| Input | Practical first attempt |
|---|---|
| Photo | A front-facing portrait with visible lips |
| Recording | A short sentence in your own voice |
| Duration | Start around 5–10 seconds before a longer message |
| Audio file | MP3, WAV or M4A within the displayed limit |
| Destination | Decide between a vertical and horizontal composition |
A 30-second birthday greeting can wait until you have checked a short sentence. You will learn more from a small first render than from committing the whole message immediately.
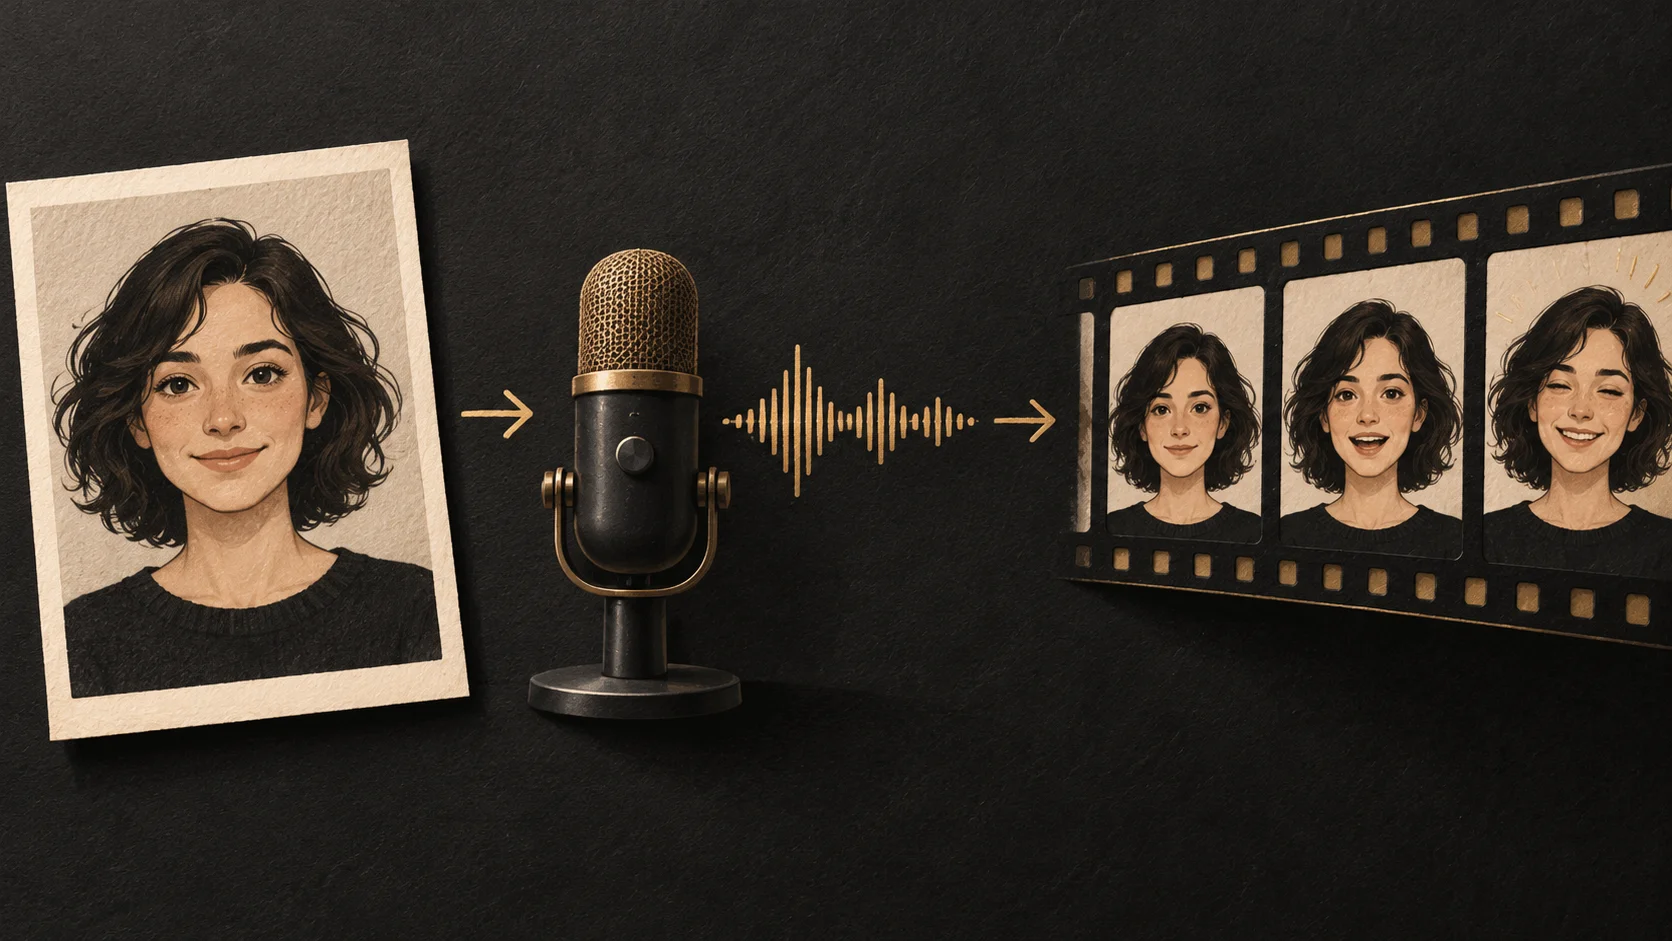
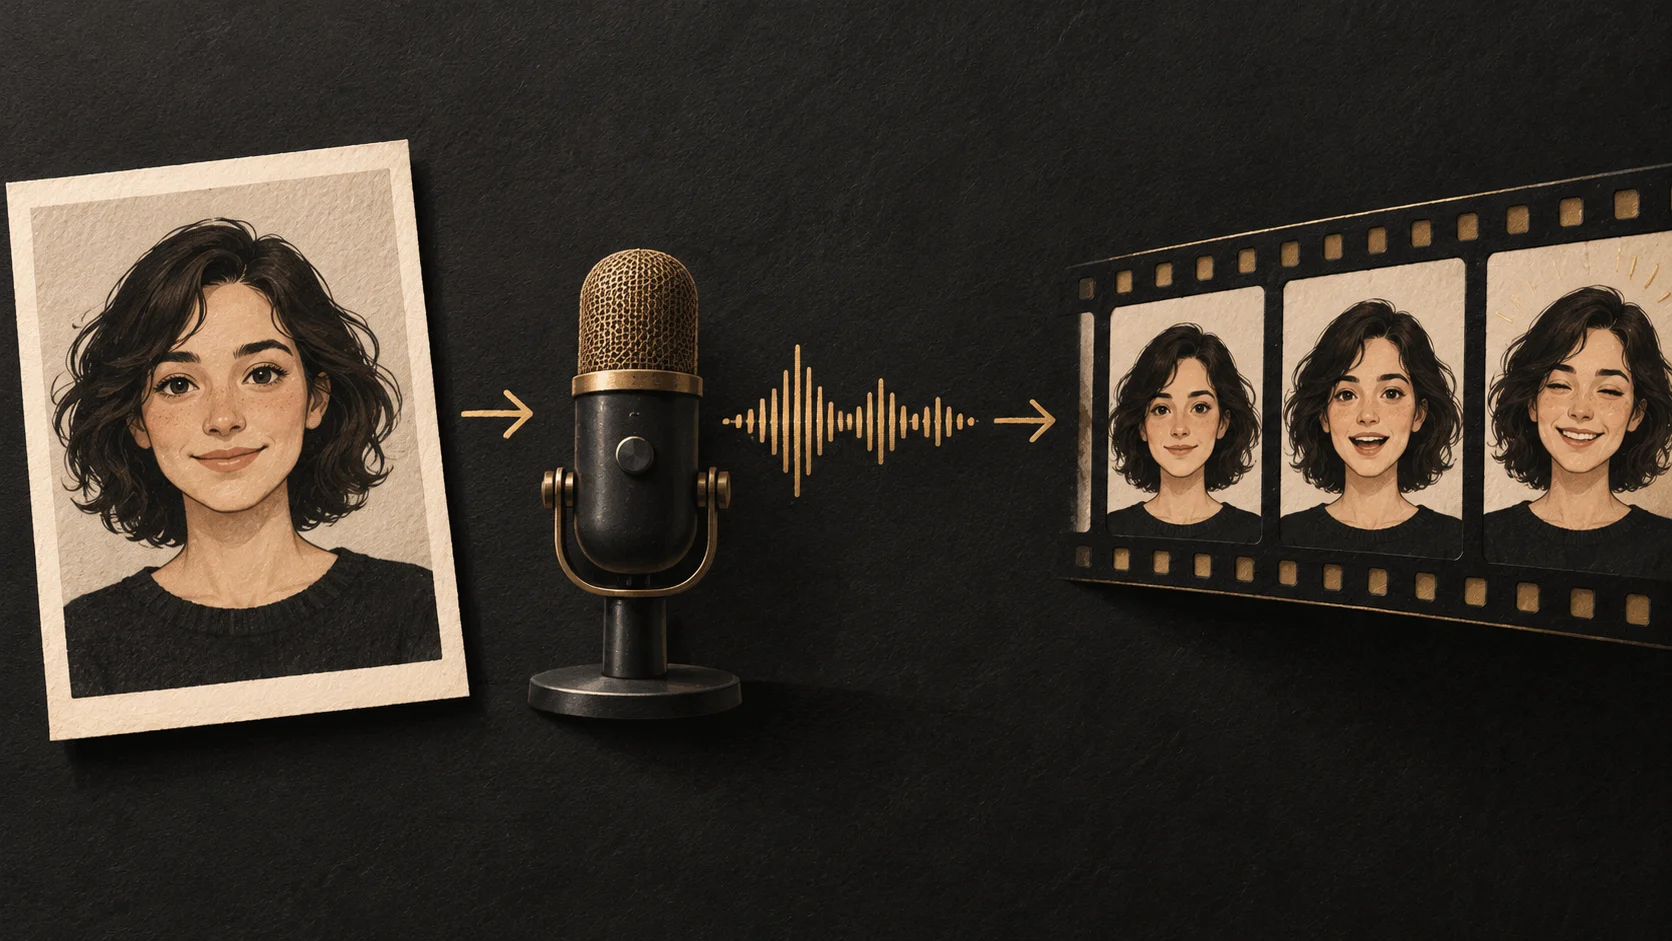
Illustration of a portrait paired with a recorded voice waveform to explain the two inputs; not a generated-video result
Make a photo talk with your own audio
- Open the AI talking photo generator. Upload your portrait or select a suitable template.
- Choose a model and resolution. The checked interface included LipsyncX 2.0 Fast and Pro; available options can change.
- Select Audio and upload your recording. Replace the preloaded demo file rather than leaving it selected.
- Play the uploaded audio preview. Confirm the filename, spoken words, start point and ending before generation.
- Read the estimated credit total. Compare it with your balance and the current pricing rules.
- Generate after confirming the inputs. When the job completes, review the video with sound before downloading.
Audio mode uses the uploaded file to drive the workflow. Text mode starts from a written script, and Record lets you capture a recording. Choosing the correct mode avoids accidentally substituting a different voice for the one you intended.
Check the estimate before a longer message
The inspected lip-sync controls showed 10 credits per 5 seconds at 480p, 20 at 720p and 30 at 1080p for the selected model. Treat those as the visible rates for that setting, not a universal rate for every model.
For a longer message, note the actual duration and quote. Silence at the beginning or end is still part of the file. If you want to shorten it, use the audio trimmer and replay the edited clip before uploading.
The audio preview confirms what will be sent into the workflow. It is not a preview of the finished facial animation.
Review the beginning, middle and ending
| Check | What to watch or listen for |
|---|---|
| Beginning | First audible word and first mouth movement |
| Middle | A clear consonant and a longer vowel |
| Pauses | Whether the mouth behaves plausibly during silence |
| Ending | Final word, cut-off audio and remaining silence |
| Face | Distortion around lips, teeth, chin or eyes |
Keep the original recording so you can compare it with the output. If you need another attempt, change one input or setting at a time. That makes it easier to tell whether trimming audio or choosing a clearer portrait helped.
FAQ
Do I need voice cloning for this?
No. Uploading an existing recording is a different job from creating a voice clone.
Can I use a song instead of speech?
The singing-photo workflow accepts a song. Check vocals, instrumental passages and timing separately from ordinary narration.
What if the file uploads but generation cannot start?
Check that the portrait finished uploading, the audio is selected, the model accepts the requested duration and the displayed balance covers the estimate.
Start with the recording you want to hear
Open the talking-photo generator, choose Audio, and replace the demo with your own short recording. Listen once before generating.